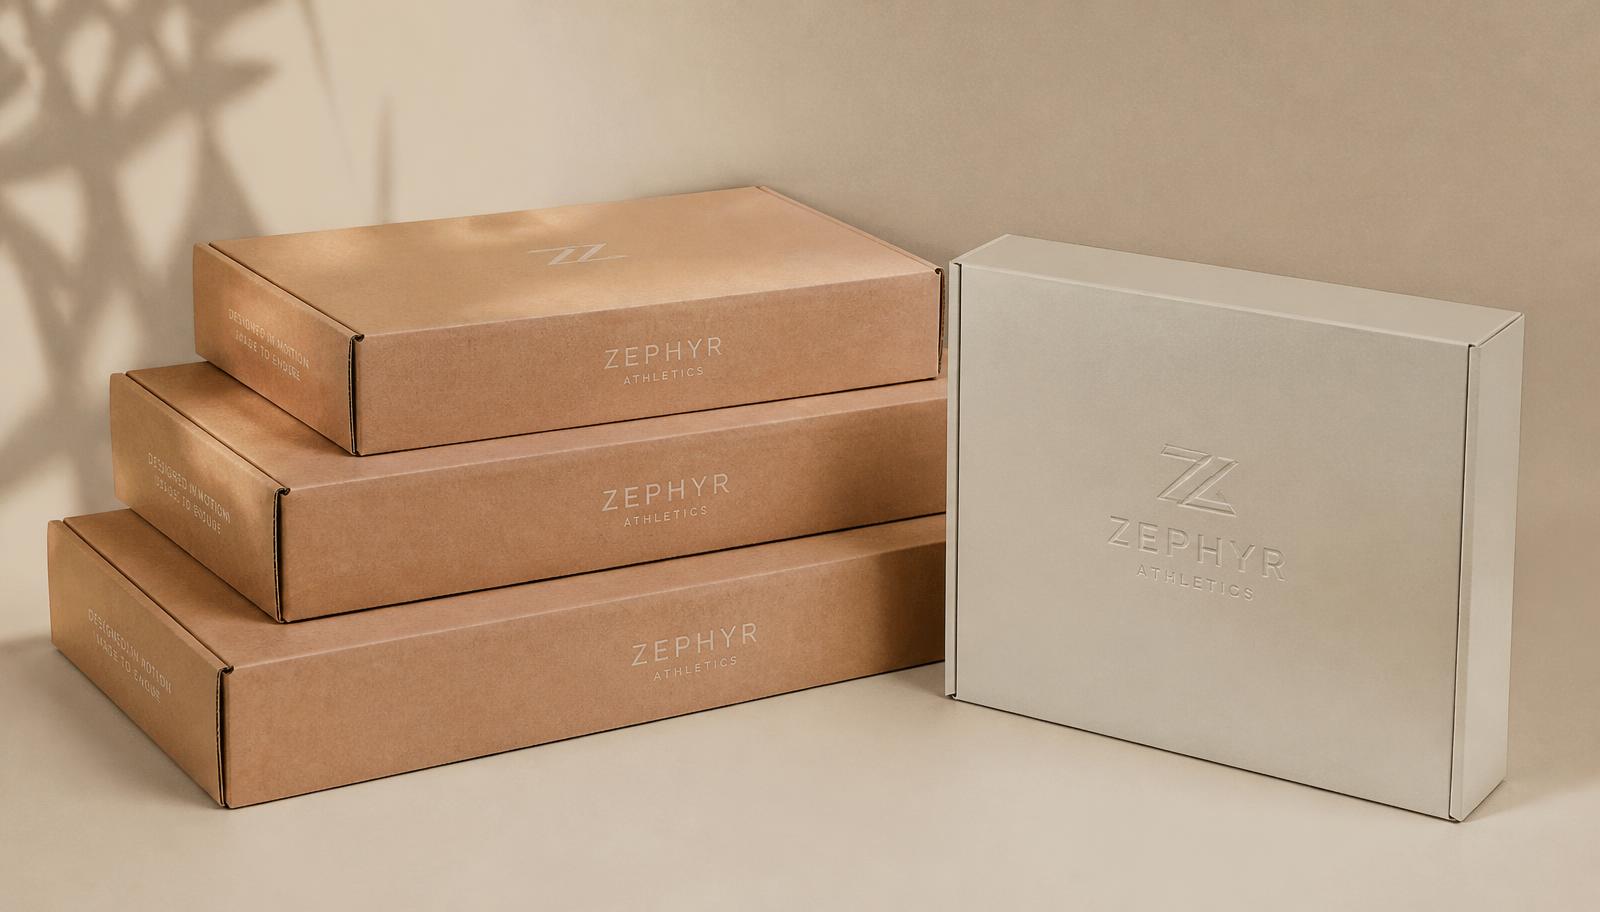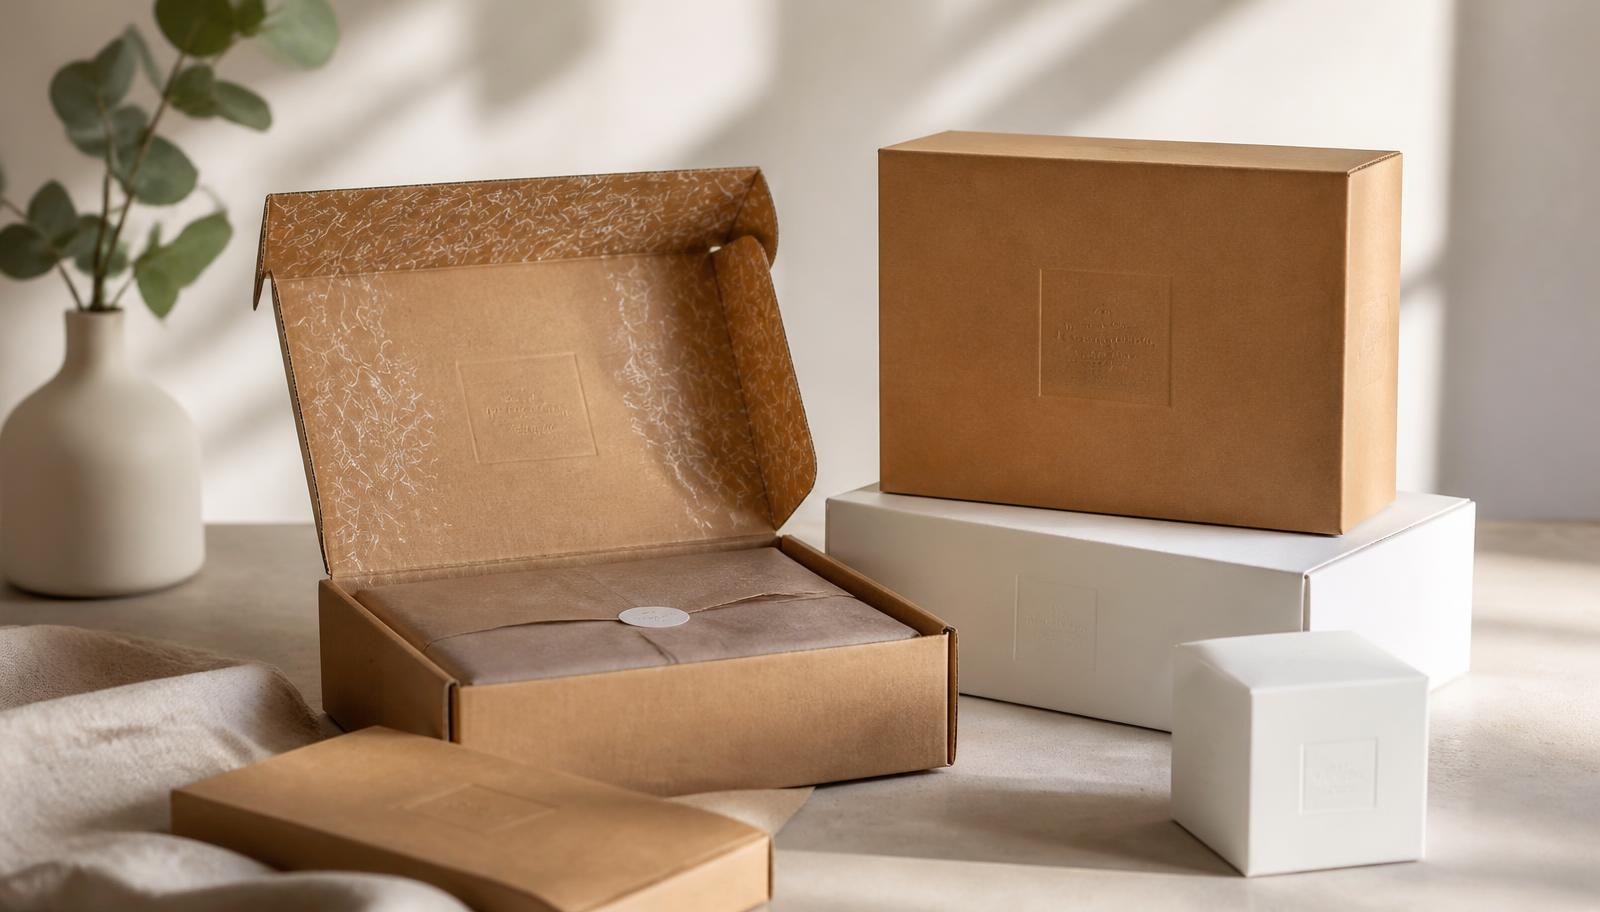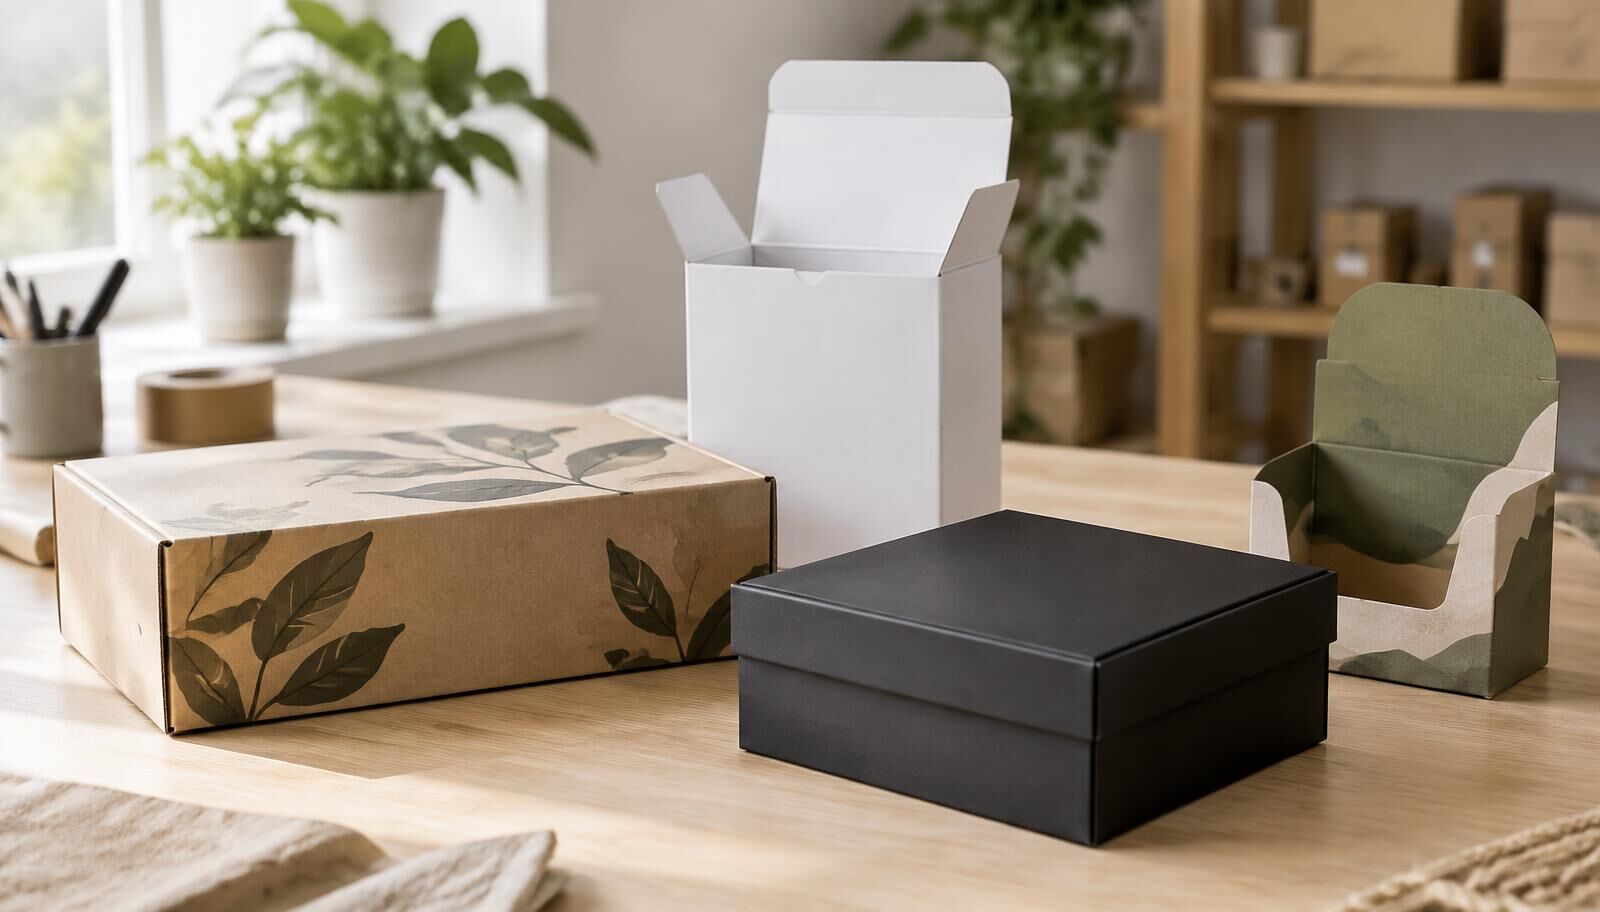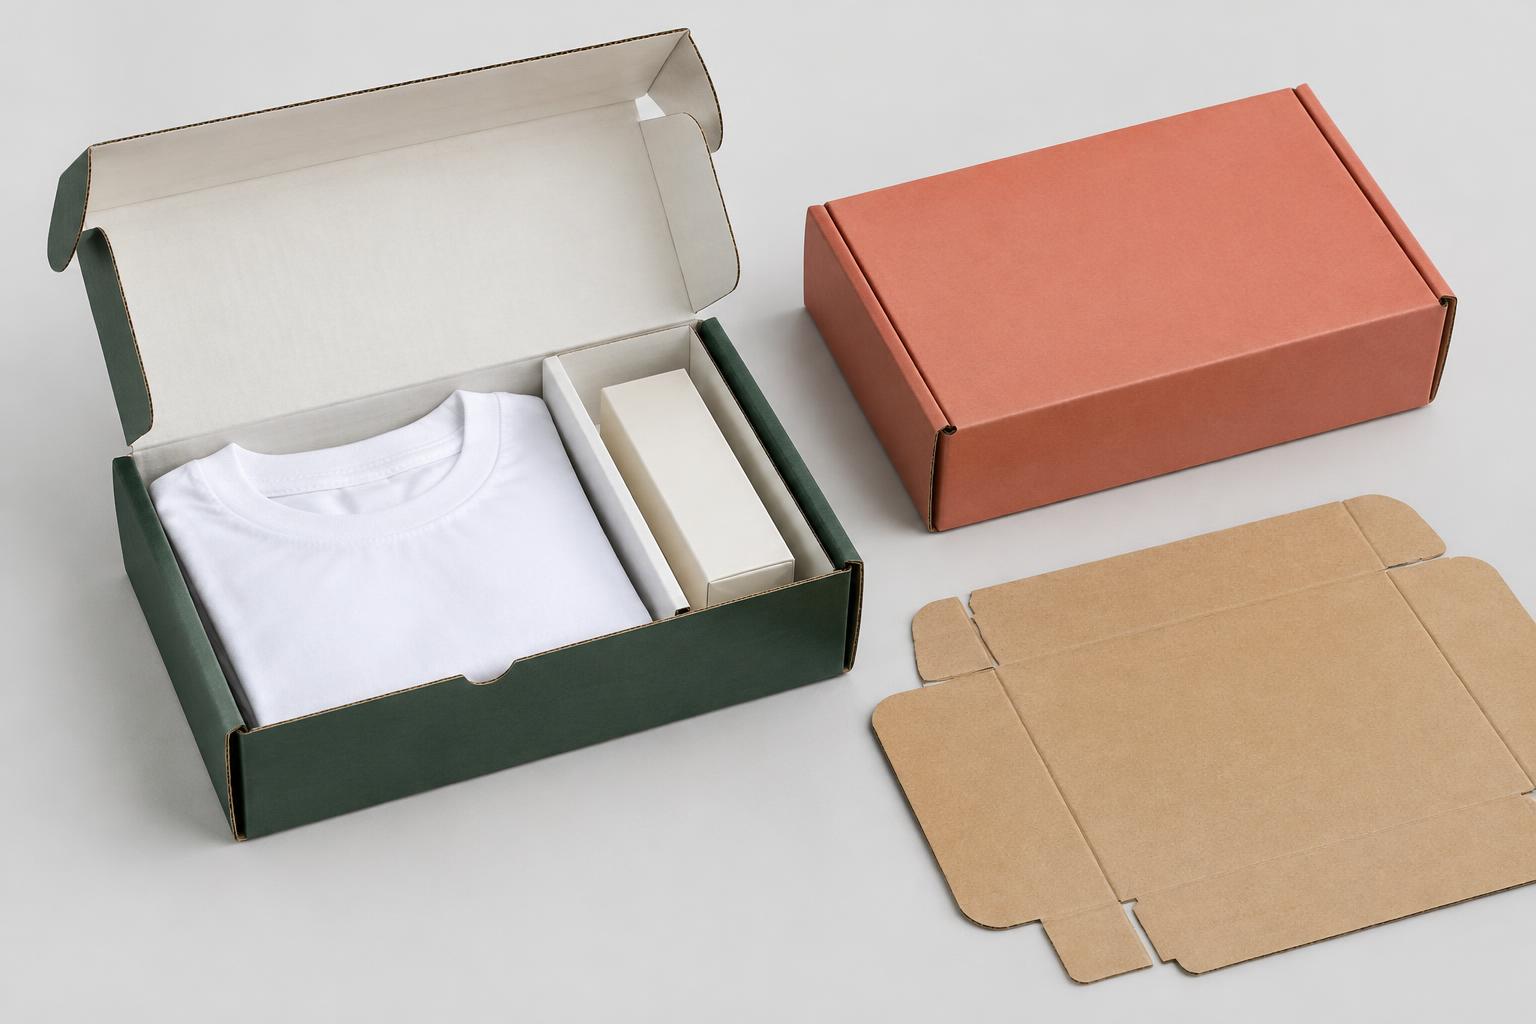
Custom mailer boxes are corrugated packaging made to fit a business’s products and carry its artwork. A good mailer keeps the contents stable, closes properly and gives the customer a clear first impression of the brand. Getting those basics right matters more than covering every panel with print.
For an ecommerce business, the box also has to work at the packing bench and in the parcel network. A beautiful lid cannot compensate for a bottle that moves inside, a closure that catches during handling or a box that is unnecessarily large.
This guide explains how to choose the structure, dimensions, materials and print specification before placing an order. If you already know what you need, browse PackologyPro’s custom mailer boxes to compare the available packaging options.
What Are Custom Mailer Boxes?
A mailer is usually a die-cut box folded from a single piece of corrugated board. Many styles have a hinged lid, side flaps and a front locking tab. They are commonly supplied flat and assembled when an order is packed.
The word “custom” can describe the size, the print or both. A stock-size box with a printed logo is one approach; a purpose-sized structure with a fitted insert is another. Ask the supplier which parts of the specification can change rather than assuming every printed box is made to your exact dimensions.
Custom mailer box packaging often combines shipping protection with product presentation. That does not mean every mailer can travel without additional packaging. Glass, heavy items and delicate finishes may need an outer carton or extra cushioning, depending on the product and shipping conditions.
Mailer Box or Standard Shipping Carton?
A hinged mailer suits orders where the customer opens the packaging directly: a beauty kit, a small gift set or a folded garment. A conventional shipping carton with taped top flaps may be more practical for heavier loads, bulk deliveries or warehouse stacking.
Neither style is automatically stronger. Board specification, dimensions, closure and the way the contents are restrained all matter. Compare a packed sample rather than choosing from the box name alone.
Benefits of Custom Mailer Boxes for Ecommerce Brands
For online orders, packaging should make three jobs easier: packing, delivery and opening. Custom ecommerce mailer boxes can bring those jobs together when the specification matches the actual order.
A close-fitting cavity can reduce unused space and the amount of filler required. A consistent layout can help packers place products the same way each time. Clear branding gives the customer a recognizable package without relying on an extra printed sleeve.
These are potential advantages, not guaranteed savings. A smaller box might take longer to pack if the fit is awkward. An insert might improve protection but add an assembly step. Test the complete process before deciding which option costs less overall.
Subscription orders deserve particular attention. If the contents change each month, choose a structure that accommodates the usual product mix without leaving smaller shipments loose. Adjustable or replaceable inserts can be worth discussing before introducing several different box sizes. See the subscription mailer options for this type of project.
Choosing the Right Size and Material
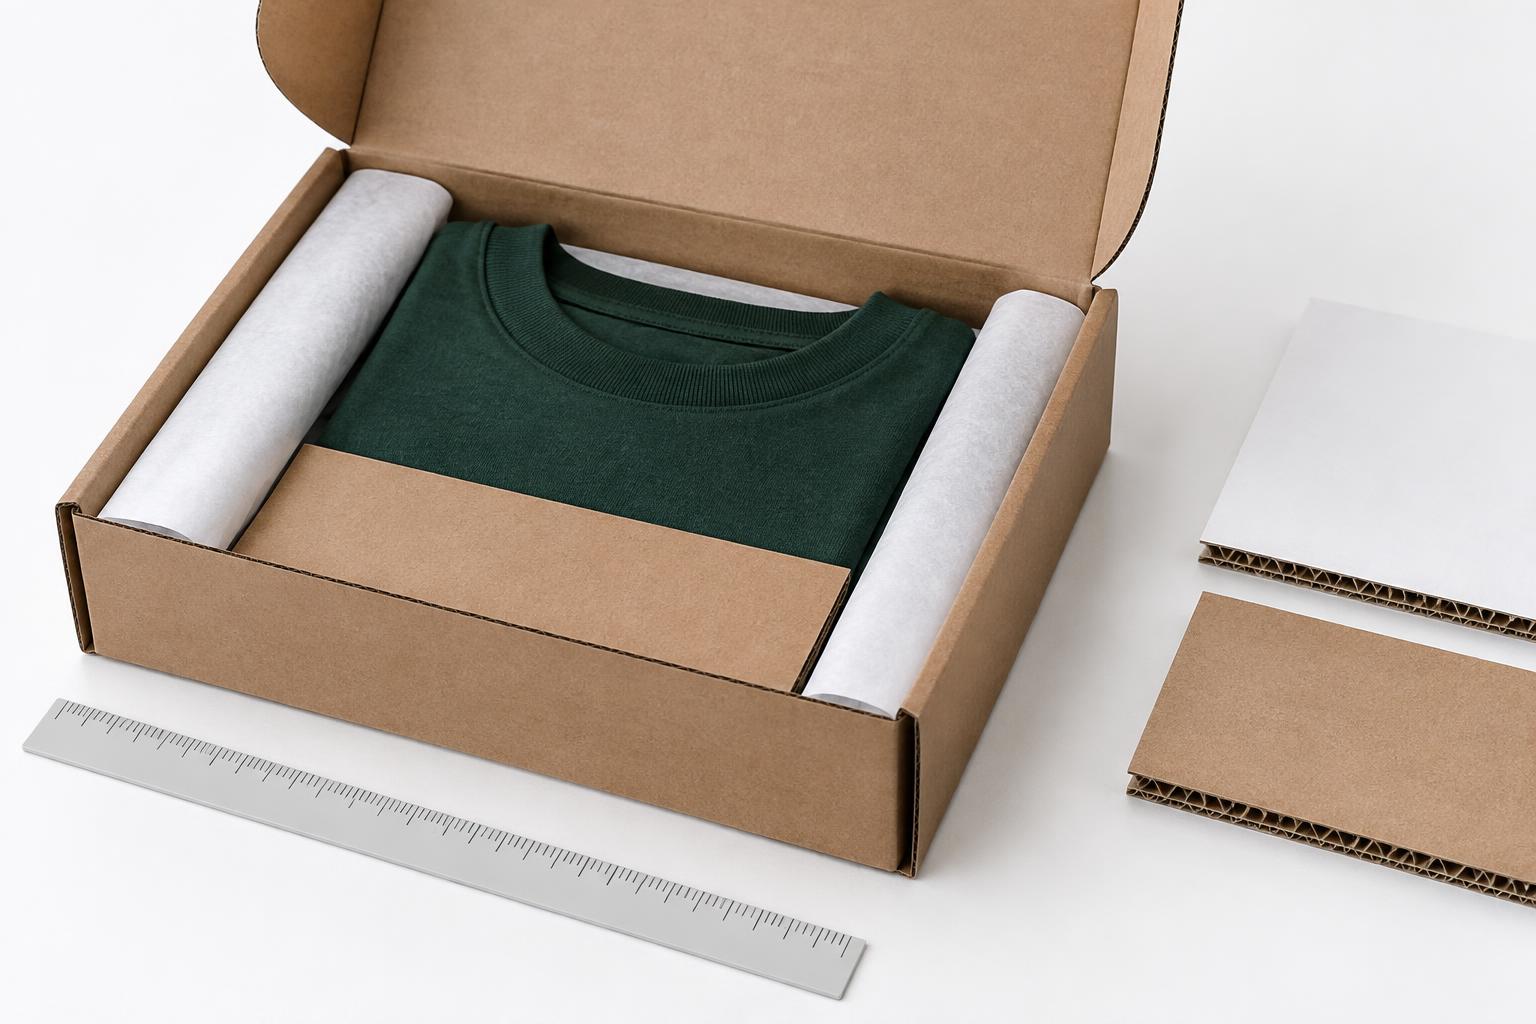
Start with the products as they will actually be packed. Include tissue, sleeves, retail cartons, lids, protective wraps and inserts. Measuring the bare product and adding packaging later is a common cause of a tight lid or bowed side wall.
How to Specify Custom Mailer Box Sizes
Write down the required internal length, width and depth, and state the units. Ask the supplier to confirm the measurement order and whether its quotation refers to internal or external dimensions.
The usable interior is not the same as the outside parcel size. Board thickness and folded panels take up space. External dimensions, together with packed weight, are the measurements to check against your carrier’s current pricing rules.
Use this sequence:
- Arrange the complete order in its intended orientation.
- Measure the space occupied by the products and protection.
- Add only the clearance needed for comfortable packing and closure.
- Assemble a sample and check that nothing presses against the lid.
- Measure and weigh the finished parcel for shipping comparisons.
For example, two cosmetic cartons packed beside one another need clearance between them if rubbing could damage their print. That clearance belongs in the insert design, not simply in a larger empty box. There is no universal allowance that works for every product.
Corrugated Board: More Than Thickness
Corrugated mailer boxes have a fluted paper layer between liners. Flute profile affects thickness and the print surface, but it does not tell you everything about strength. Liner quality, board grade, box geometry and the packed load also affect performance.
E-flute is often considered when a slim profile and smooth printing surface are priorities. B-flute or other constructions may suit a different protection requirement. Do not select a board solely because a competitor uses it: a lightweight garment and a dense jar put different demands on packaging.
Describe the product weight and delivery conditions to the supplier, then test the recommended structure with the real contents. PackologyPro’s corrugated mailer range and materials guide are useful starting points for that conversation.
Kraft or White-Faced Board?
Kraft mailer boxes have a brown paper appearance that works well with restrained graphics. White-faced board provides a lighter background for artwork and can make certain colors easier to reproduce.
The choice is visual as well as practical. A brand color will not necessarily look identical on kraft and white stock. Request a suitable proof when color matching matters, especially before applying the same artwork across several packaging materials.
| Packaging decision | Useful starting point | What to check on the sample |
|---|---|---|
| Lightweight ecommerce order | Close-fitting corrugated mailer | Closure, product movement and packing speed |
| Several products in one kit | Mailer with divided insert | Separation, finger access and lid clearance |
| Glass or fragile contents | Protective insert and suitable outer packaging | Cushioning, restraint and transit performance |
| Minimal printed design | Kraft board with limited artwork | Ink contrast and legibility |
| Detailed color artwork | Suitable white print surface | Color, fine detail and scuffing |
Custom Printing, Logos and Brand Presentation
Custom printed mailer boxes should be designed around the folded box, not just a flat rectangle. Artwork crosses panels, folds and locking areas. A design that looks balanced on screen can place a logo on a crease once the box is assembled.
Begin with the main viewing panel. Keep the brand name easy to recognize, then decide what information genuinely belongs outside. The shipping label needs its own clear area; it should not obscure the only logo or a message intended for the customer.
Designing Custom Mailer Boxes With Logo
One well-positioned logo can be enough. Repeating it on every surface does not necessarily make the packaging more recognizable. Use supporting colors or a simple pattern where they fit the brand, and keep small text away from folds and cut edges.
Inside printing can add a short thank-you message, product-care information or a visual continuation of the exterior. It also increases the printed area and may affect the quotation. Compare outside-only and inside-and-outside versions before deciding whether the extra print is useful.
Digital, flexographic and litho-laminated production have different setup and artwork considerations. The appropriate method depends on quantity, colors, detail and the chosen board. Review the printing options, then ask the supplier to recommend a process for the actual artwork rather than choosing by name alone.
Proofing the Dieline and Finish
Use the supplier’s approved dieline. Keep cutting, scoring and artwork layers separate, follow its bleed and safe-area requirements, and provide logo files in the requested format. Ask how fonts, images and spot colors should be supplied.
A digital mockup helps explain panel placement. It does not establish the physical fit, exact color or feel of the finished box. A physical sample is especially useful when the project has a new insert, a critical brand color or a finish that may scuff in delivery.
Choose coatings and decorative finishes for a reason. A matte surface, spot gloss or foil detail can suit a presentation brief, but availability and recyclability depend on the construction. Compare relevant finishing options with the supplier before adding them to the specification.
Inserts, Closures and Real Shipping Checks
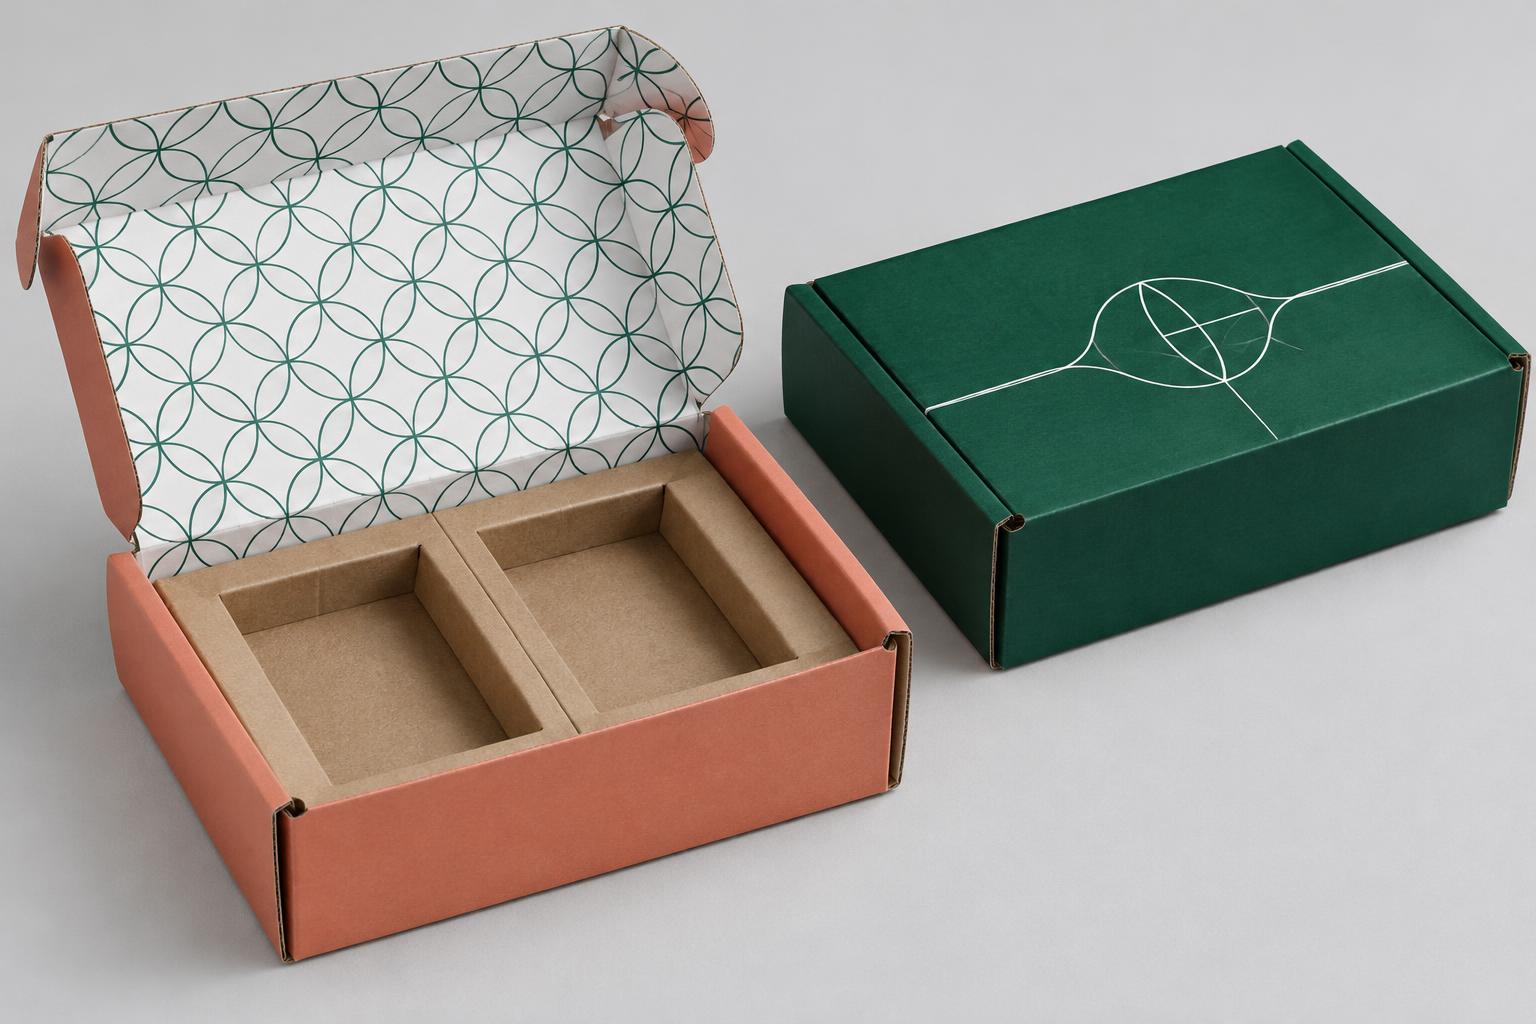
An insert should stop unnecessary movement while allowing the customer to remove the product without tearing the packaging. Check the fit around the whole product, including caps, handles and any part that protrudes.
Paperboard and corrugated inserts can separate items and organize a kit. Other protective materials may be appropriate for particular loads. The right choice comes from the product and shipping requirement, not from the appearance of an empty sample.
A self-locking lid is convenient for assembly, but assess whether the finished parcel needs tape, a seal or another closure for its journey. Tear strips and return adhesive may be useful where opening and returns are part of the brief; confirm their availability for the selected style.
Test a packed sample for movement, compression, rubbing and ease of opening. For fragile or high-value goods, discuss suitable transit testing instead of assuming that one informal drop proves the packaging is ready. The shipping mailer category covers structures intended for delivery-focused projects.
Wholesale Orders and Factors That Affect Cost
Custom mailer box cost depends on more than quantity. Dimensions, board grade, print coverage, tooling, inserts, finishing, packing and delivery all contribute to the quotation. A simple price-per-box comparison can hide important differences.
When comparing custom mailer boxes wholesale, give each supplier the same written specification. Otherwise, one quote might include inside printing and delivery while another covers only the plain outer box.
Ask for these points to be confirmed:
- Internal dimensions, box style and board specification.
- Quantity per size and artwork version.
- Printed sides, colors and proposed print process.
- Insert material and assembly requirements.
- Tooling, proofing and sample charges, if applicable.
- Delivery costs, destination and quoted lead time.
- What happens if the approved specification changes.
Higher quantities can spread fixed setup costs across more boxes, but a lower unit price is not automatically the better purchase. Storage, cash tied up in stock and the risk of outdated artwork matter too. Consider expected usage before committing to a large run.
Custom Mailer Boxes for Small Business
Smaller brands benefit from a specification they can reorder without constant changes. Begin with the product combinations that account for most orders. Avoid commissioning a separate size for every occasional bundle unless the shipping or protection benefit justifies it.
PackologyPro’s minimum order starts at 50 boxes. Confirm how that minimum applies to each size and design in your quotation. A smaller first run can help you assess fit and customer presentation before committing to more stock; it does not remove the need to approve a sample and artwork.
Eco Friendly Mailer Boxes: Check the Details
“Eco friendly” is not a complete material specification. A kraft appearance does not prove recycled content, and paper-based packaging should not be described as universally recyclable without checking the finished construction and local collection rules.
Ask about recycled content, coatings, laminates, adhesives and any components the customer needs to separate. If certification is important, request evidence covering the actual material being purchased rather than relying on a general company claim.
Right-sizing and reducing unnecessary components can make practical sense, provided protection remains adequate. Replacing a working insert with too little cushioning may lead to damaged goods and replacement shipments. Use the sustainability information as a starting point, then confirm claims for your selected specification.
How to Choose the Right Mailer Box Supplier
A useful supplier asks what is going inside the box, how much it weighs and how the order will travel. Be cautious if the recommendation starts and ends with a photograph of a printed lid.
Before approval, confirm who checks the dieline, what kind of sample you will receive, how changes are handled and when the production schedule begins. Keep the approved dimensions, board, artwork version and insert specification together so a reorder has a clear reference.
Do not approve a production run while a fit problem remains unresolved. A small correction to an insert or lid at the sample stage is usually easier to manage than repacking a batch of finished boxes.
Conclusion: Choosing Mailer Boxes for Your Products
The best custom mailer boxes for a business are the ones that fit the order, protect it appropriately and work reliably for the people packing and opening it. Decide the structure and internal space first; refine the artwork once those decisions are settled.
To start a project, compare the mailer-box category, use the Box Builder to explore your requirements, or request a packaging quote. Include product dimensions, packed weight, quantity, destination, printing preferences and any insert requirements so the recommendation is based on your products rather than guesswork.
Need packaging built to this spec?
Send us your product dimensions and quantity — we'll return a free dieline, a 3D mockup and itemized pricing within 24 hours.
Request a free quote